Signing up on Skidmore Domains

Reviewing the Guidelines

Before you get started, we recommend that you review our information about Choosing a Domain Name.

The Sign-Up Process (2 Options)

Once you’ve reviewed the guidelines, you can proceed to the sign-up page.

Click on the right hand side where it says Dashboard.


dashboard.001

You will be redirected to login for verification. You will use your Skidmore username and password to login.

sign in.001

Option 1: Free Subdomain

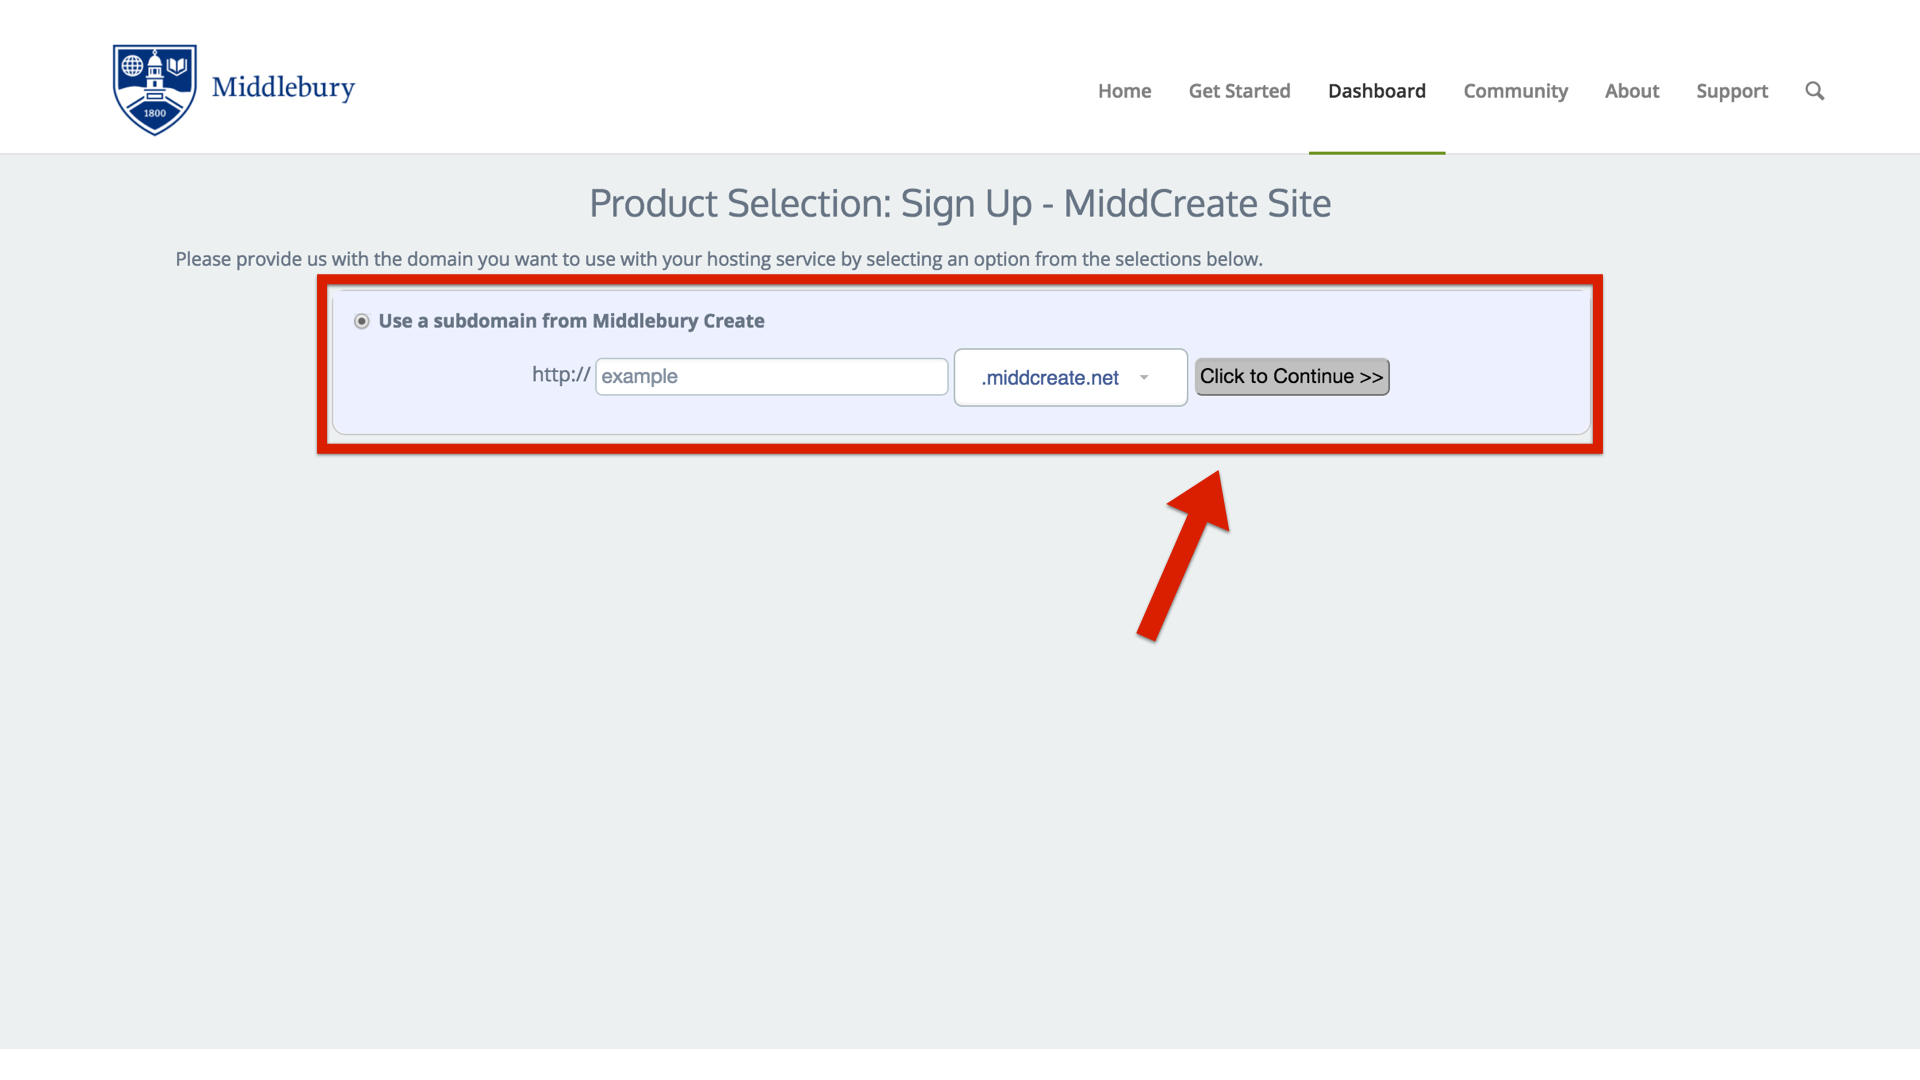
If you wish to create a free subdomain of domains.skidmore.edu, leave this default option selected and enter in the subdomain you want for your Skidmore Domains website. When you’ve found an available subdomain, click the button labeled Click to Continue.


You will be brought to the sign up page. Since you selected the subdomain option, you should see that it is available for free.

sign up.001

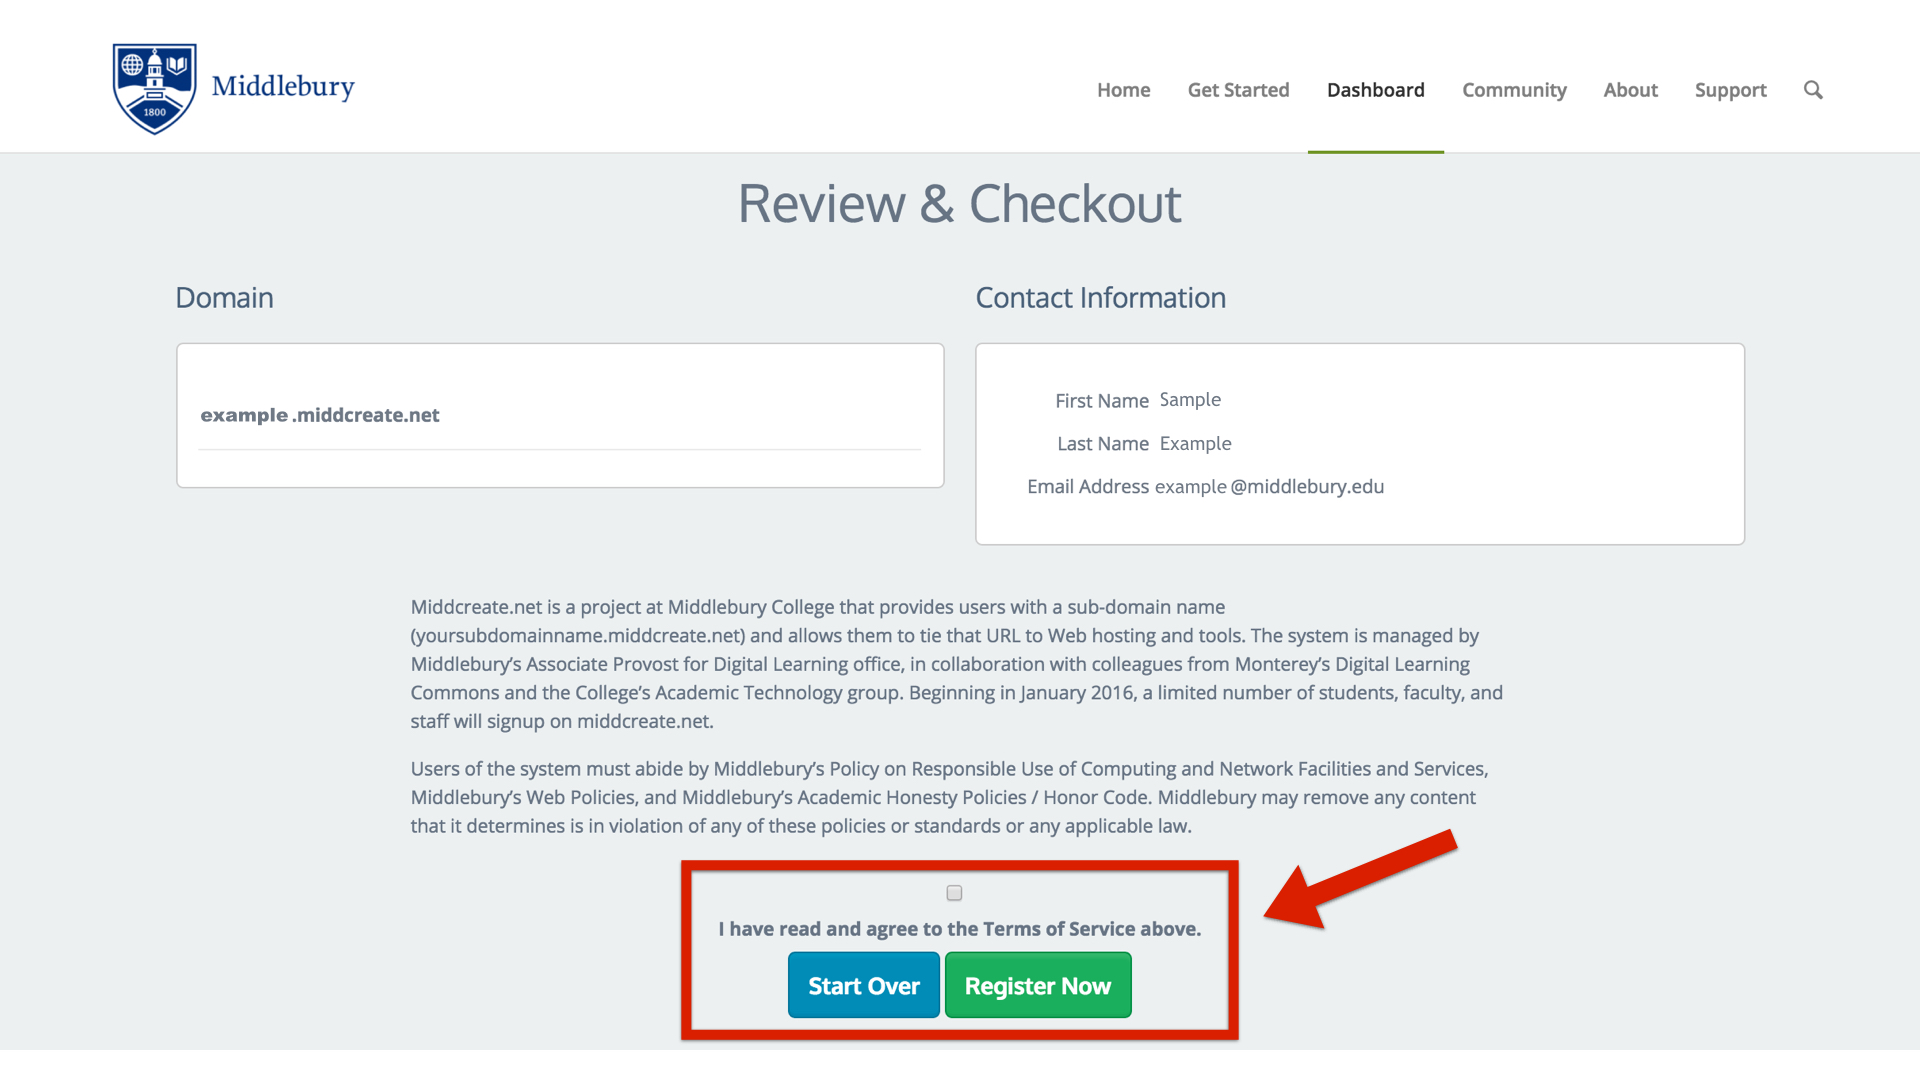
Read the Terms of Service. To continue, you will need to check the box to agree to the Terms of Service and select Register Now.

register now.001

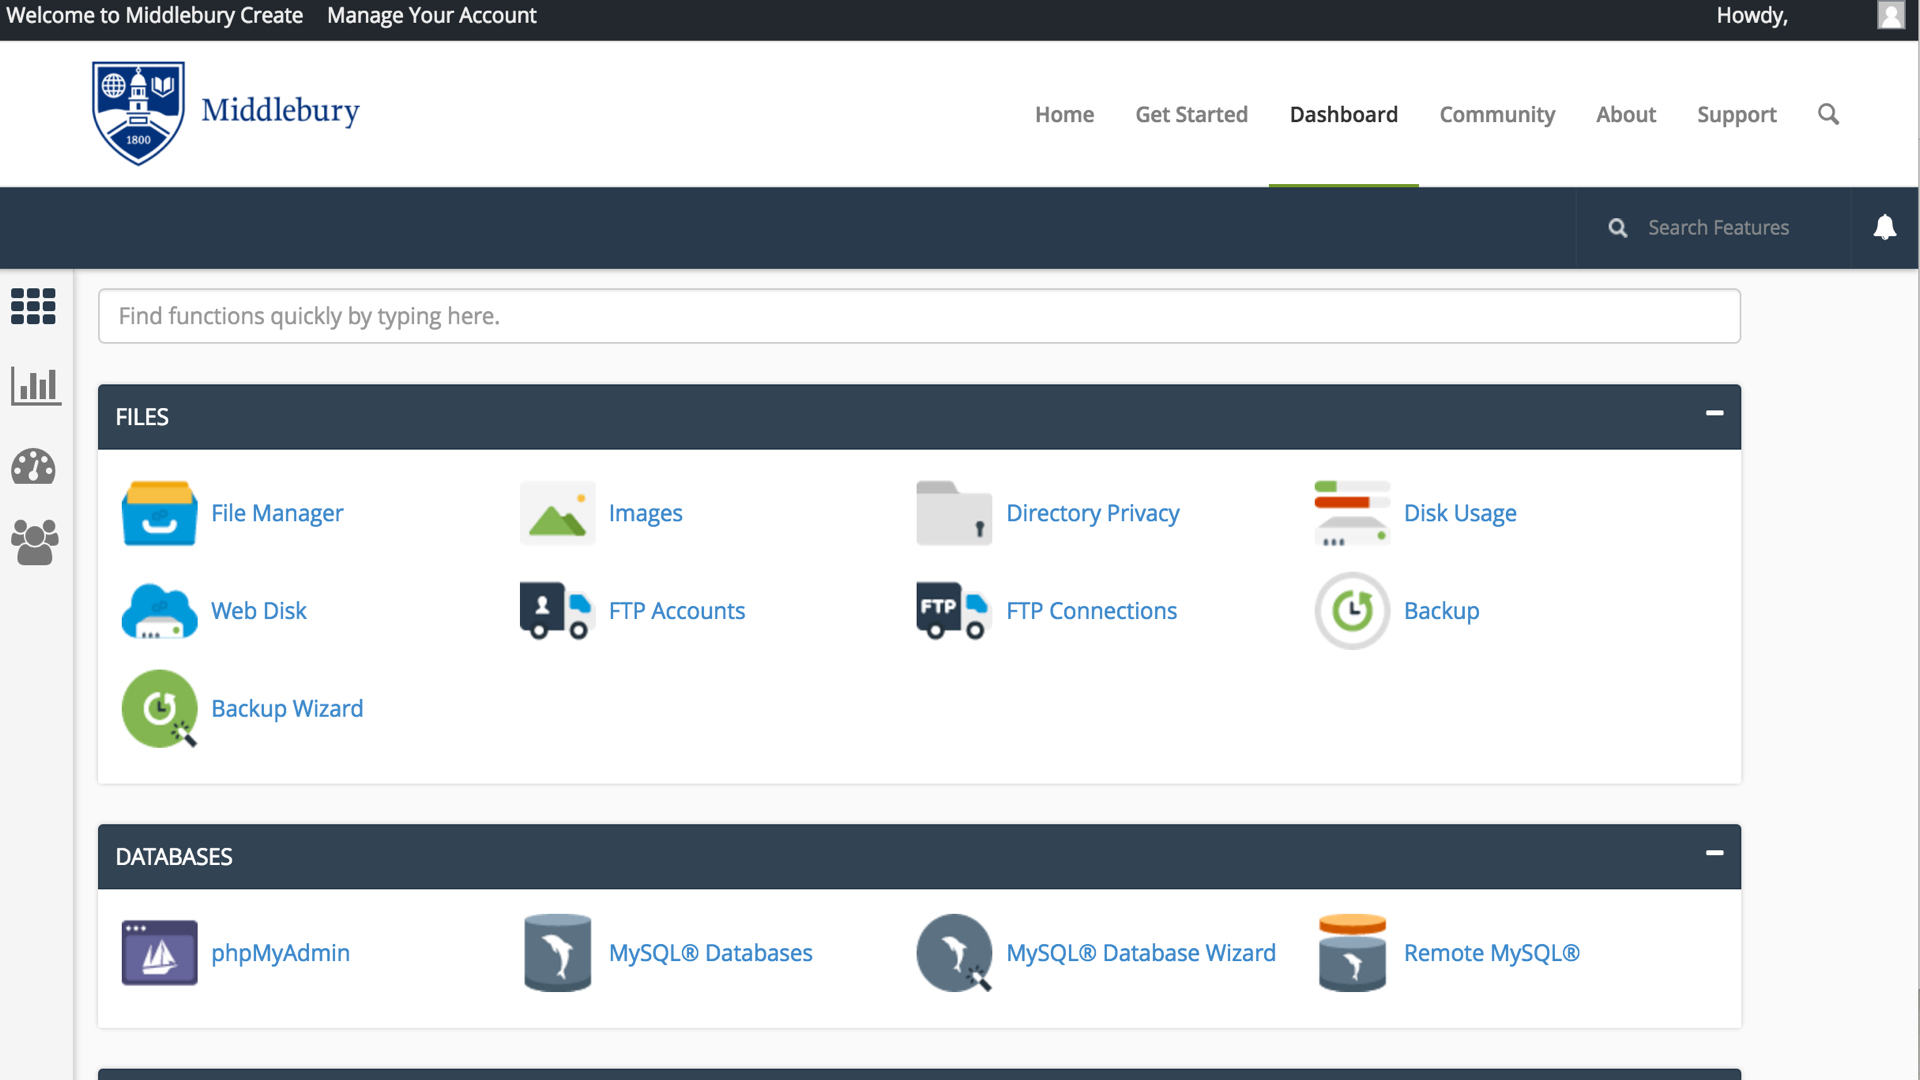
After you click “Register Now”, you will be brought to the cPanel and are on your way to creating your own Skidmore Domains space.

cpanel.001


Choosing your domain name

Choosing your domain name is the first step in getting started with staking your claim on the web. Your domain name is really just a unique Web address that can be used to build out your own digital presence. As you make your choice, there are a few considerations to keep in mind:

Your Domain Name Must Be Available: Domain names must be unique, which means in order for you to claim your own, you need to be sure that it is currently available (and not being used by any one else or any company or organization). There are lots of tools to check on domain availability, and when you sign up on domains.skidmore.edu, we’ll actually check the availability of your choice for you. If you’d like to spend some time thinking about your choice and checking availability before you actually sign-up, we recommend using whois.net.

You Must Choose a “Top Level Domain” or TLD: The TLD is the suffix (or ending part) of your domain name. On domains.skidmore.edu, we only allow you to choose from 5 TLDs: .com, .net, .org., .info. and .us. You must choose which one you want to use (and the availability of your domain may depend upon the TLD you choose). Historically, .com domains were meant for businesses and commercial entities. On the other hand, .org domains were usually used by non-profit organizations. The .net domain was mean to be used by internet service providers. All of that said, the “historic” uses of these TLDs means very little anymore. You may find that .com domains are easier for people to remember, or you may like the “non-commercial” message of using a .org. The bottom line is that your choice of a TLD is entirely personal: just make sure that you choose one of the TLDs allowed by domains.skidmore.edu.

Choose a Domain You Can Live With: You should choose a domain name that you feel you can live with for quite some time. You should pick something that you won’t find embarrassing in the future. A good rule of thumb is to pick a domain that you would be comfortable putting on a future job application.

You May Wish to Include Your Name in Your Domain: There is no requirement that your domain reflect your specific identity in the form of your first and last name. However, choosing a domain name that includes your name may make it easier for you to achieve higher rankings in search engines when someone queries your real name.

Pick a Domain you Like: At the end of the day, your domain should reflect you. Pick a domain you like and are proud of. It can reflect your interests, sports you play, or your hobby. Or it could just be your name. The “right” domain for you is the one you’re comfortable with.

Registering a Domain

Skidmore Domains currently utilizes subdomains of .domains.skidmore.edu for the initial signup, however after using your space you may decide you’d like to register a top-level domain (a .com, .net, .org address). You can do this by registering a domain with a service provider (we make a recommendation below, but any domain provider should work) and adding it to your space as an Addon Domain.

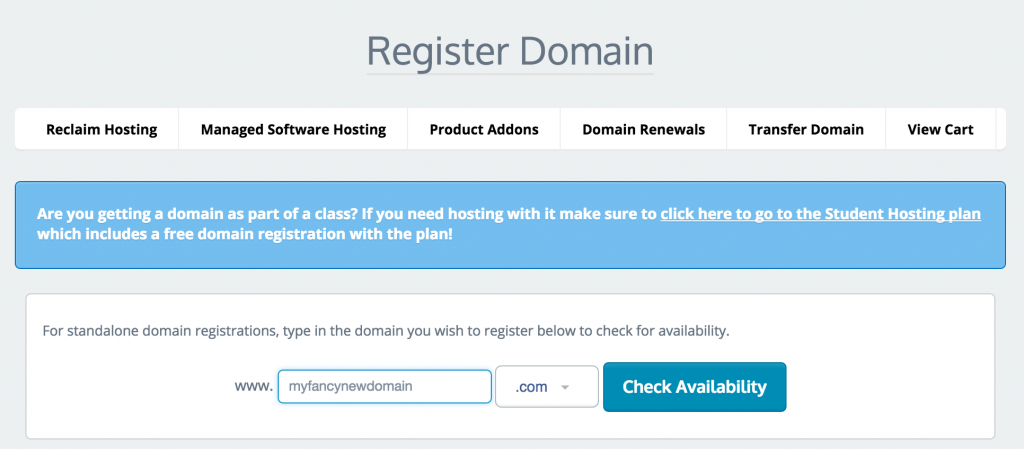
To start you’ll need to get the domain registered. When choosing a domain we recommend keeping it all lower-case, avoiding hyphens, keeping it short, and of course it will need to be a unique address. Our service provider, Reclaim Hosting, has made the process of registering a domain quite simple, and the domain will work with very few additional steps due to the integration they have with our hosting system. To register a domain you would go to https://portal.reclaimhosting.com/cart.php?a=add&domain=register and type in the domain you’d like to purchase:

Screen Shot 2015-12-07 at 9.23.30 PM

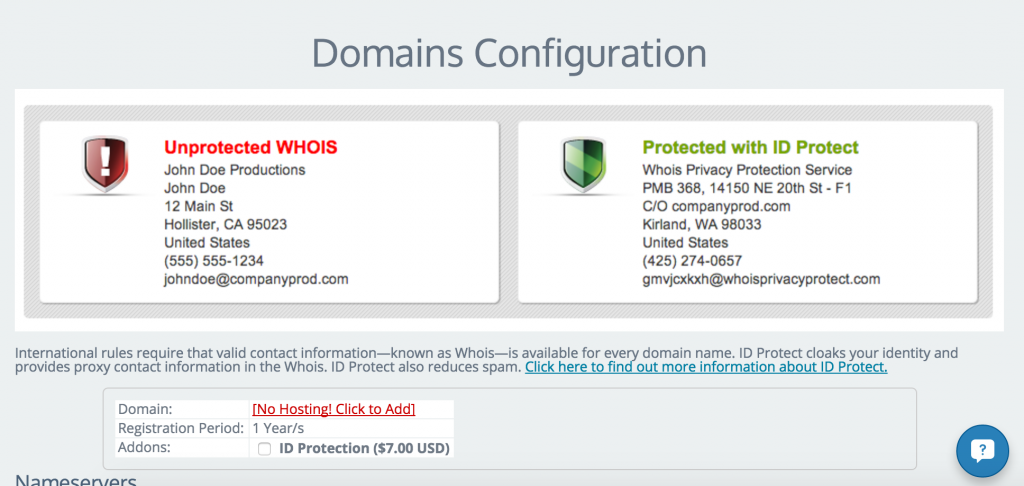
After ensuring the domain is available for purchase you’ll be prompted to select whether you’d like to protect the contact information associated with the domain. All domain registrations are required to have valid contact information publicly available, however a proxy service to protect your identity is available for an additional fee. You can read more about this service, ID Protect, at http://docs.reclaimhosting.com/FAQ/ID-Protect-FAQ/.

Screen Shot 2015-12-07 at 9.25.46 PM

You’ll also be prompted for nameservers for the domain. If registering the domain through Reclaim Hosting you can leave these with the default. If registering the domain elsewhere you’ll want to point the nameservers to ns1.reclaimhosting.com and ns2.reclaimhosting.com in order for the domain to work with our system.

Once you’ve completed the checkout process with payment information the domain will be registered automatically. The last step is to add it to your existing account here at Skidmore Domains. To do that you’ll log into your account at https://domains.skidmore.edu/dashboard and in cPanel navigate to Domains > Add-on Domains.

addon domains.001

Here you will type in the domain that you registered previously to host it within your space on Skidmore Domains. cPanel will also setup a subdomain which you can leave with the default that it creates and verify a location for the files for the domain (typically a folder inside of public_html). The option to create an additional FTP account is present but not necessary. Once the domain is entered click Add Domain to add the domain to your hosting account.

create an addon domain.001

At this point the domain will now be hosted in your account and you can use it to install software, upload files, and any number of other actions available to you in cPanel.

What Can You Do with Your Skidmore Domains Account?

Your ability to do things on Skidmore Domains is dictated to a large degree by the limits of your imagination. That said, there are some technical requirements and limitations that you should be aware of and might want to review.

To spark your imagination, here are some ideas that might help you get started:

Install a Web Application in Your Space

domains.skidmore.edu makes it very simple to install certain Web applications in your Web space. Web applications are just special software that run on a Web server. Usually they allow you to build and manage a Web site. The kind of site you can build depends upon the type of application you install. Here are some examples of applications that you can easily install within the domains.skidmore.edu Web hosting interface:

WordPress LogoWordPress: WordPress is a blogging application. While it allows you to quickly and easily set up a blog, it also comes with a set of features that really make it possible to set up any kind of basic Web site without much difficulty. We have resources available that are focused on installing and using WordPress.

Mediawiki LogoMediawiki: If you’ve ever browsed or edited Wikipedia, you’ve already used Mediawiki. It is the open-source wiki software that runs the online encyclopedia, and you can install it on your Web space. It’s a good choice if you’re interested in publishing documents and then collaborating with others on them. We have instructions for installing Mediawiki.

ZenPhoto iconZenPhoto: This application is a good choice if you’re looking for a way to share images in your Web space. It’s also a quick install through Installatron in cPanel onto your domains.skidmore.edu Web space.

OwnCloud iconOwnCloud: If you’ve used DropBox, the concept of OwnCloud will be familiar. It allows you to upload and access files from anywhere with Web access. You can also share those files and sync them to your devices. This Web application is another quick install through Installatron in cPanel.

These are just a FEW of the open-source applications that are available to you in your domains.skidmore.edu Web space; you can find a list of all of the applications you can install automatically here.  We encourage you to read more about what Web applications are and which ones are available to you through this project.

Organize Your Site with Subdomains and Folders

Through this project, you’ve received a domain name that you can actually subdivide and organize anyway you like. One easy way to organize your domain is to create subdomains, in which you can then install other applications. In addition, you can just set up subfolders for your site (which can also have their own applications installed in them). Here’s an example of how you might organize your site (using the subdomain vs. the subfolder approach)

Subdomain Approach Subfolder Approach
yourdomain.com (“root”) Install WordPress as your “main site” yourdomain.com (“root”)
course1.yourdomain.com Install a second WordPress instance for a course you’re taking yourdomain.com/course1
photos.yourdomain.com Install ZenPhoto for a public photo gallery of your photos yourdomain.com/photos
docs.yourdomain.com Install MediaWiki for a club you belong to that wants to collaboratively edit its bylaws yourdomain.com/docs
files.yourdomain.com Install OwnCloud so you can access your files on your laptop and at work yourdomain.com/files

This is just an EXAMPLE of a way to organize your site and then use different sections to do different things. There is no one solution to this challenge, and what you do should be driven by what makes sense to you. To start, you may just want to install one thing at the “root” of your domain, and then let the rest evolve as you get to know more about what’s possible.

Map Your Domain (or a Subdomain)

If you already have a digital presence that you’d like to pull into your domains.skidmore.edu space, domain mapping is an option you may wish to explore. This allows you to assign your domain (or a subdomain) to another service. Some services that work with domain mapping are:

When you map a domain, users who visit your URL will automatically see your space on one of these services. It’s a great way to incorporate your activity elsewhere into your domain, and it might be a good first-step if you’ve already established a presence somewhere else and just want to point your new domain to that space.